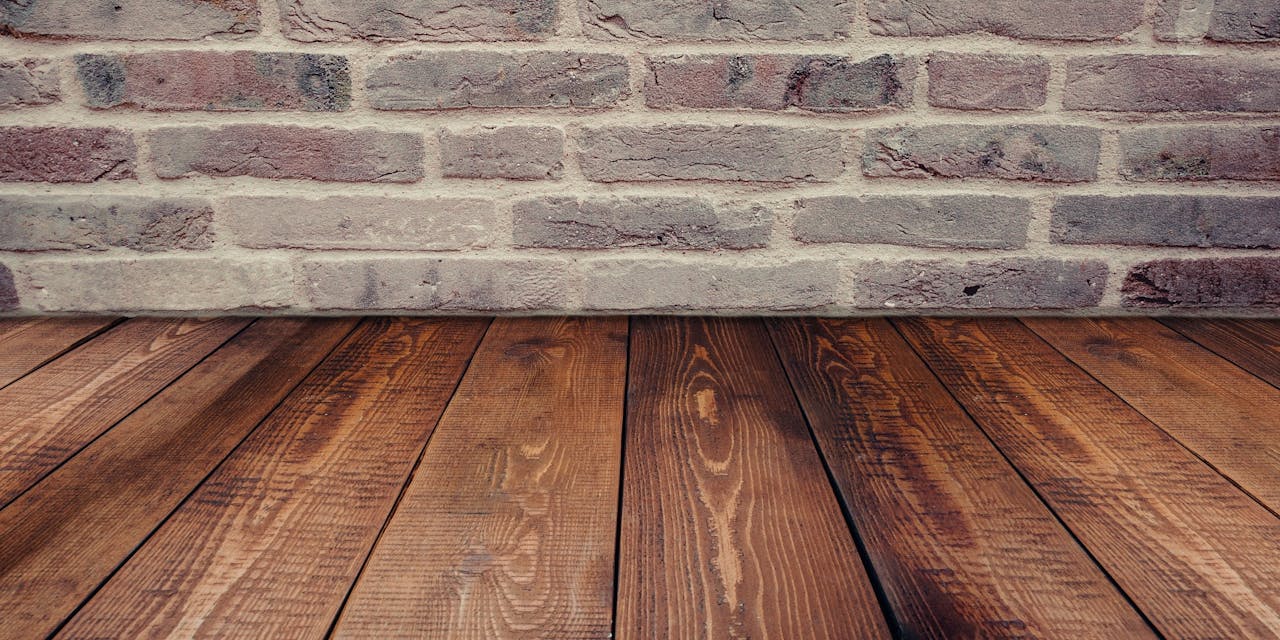
Installing hardwood flooring can be a rewarding yet challenging task, offering a beautiful and durable finish to your home. While the process may seem daunting, with the right tools, materials, and techniques, even DIY enthusiasts can achieve professional results. This guide provides an in-depth look at the steps involved in hardwood flooring installation, from preparation to finishing touches.
1. Preparation
1.1. Measure and Purchase Materials
Start by measuring the area where you plan to install the hardwood flooring. This will help you determine the amount of materials needed. Always buy an extra 10% of flooring to account for waste and mistakes.
1.2. Acclimate the Hardwood
Hardwood flooring needs to acclimate to the room’s temperature and humidity. Place the unopened boxes of hardwood in the room for at least 48 hours before installation.
1.3. Prepare the Subfloor
Ensure the subfloor is clean, dry, and level. If necessary, sand any high spots and fill any low spots with a leveling compound. Remove any debris, nails, or staples that might interfere with the installation.
1.4. Gather Tools and Materials
You’ll need the following tools and materials:
• Tape measure
• Chalk line
• Carpenter’s square
• Hammer or mallet
• Pry bar
• Power saw (miter saw or table saw)
• Flooring nailer or stapler
• Nails or staples
• Underlayment (if required)
2. Installation
2.1. Install Underlayment
Underlayment is essential for moisture protection and noise reduction. Roll out the underlayment across the subfloor, ensuring it covers the entire area. Use a utility knife to trim the edges and tape the seams together.
2.2. Plan the Layout
Decide the direction in which you’ll lay the flooring. Running the planks parallel to the longest wall or towards a window can create a visually appealing effect. Use a chalk line to mark the starting point, ensuring the first row is straight.
2.3. Install the First Row
Place the first row of planks along the chalk line, leaving a 1/4-inch gap between the planks and the wall to allow for expansion. Use a flooring nailer to secure the planks, driving nails at an angle through the tongue of each plank.
2.4. Continue Laying Planks
Stagger the end joints of the planks by at least 6 inches to create a more natural look. Use a miter saw to cut the planks to the desired length. Continue laying the planks row by row, using a tapping block and mallet to ensure a tight fit.
2.5. Cut Around Obstacles
When you encounter doorways, vents, or other obstacles, measure and cut the planks to fit around them. Use a jigsaw or coping saw for intricate cuts.
2.6. Finish the Last Row
For the final row, you may need to rip the planks to fit. Measure the gap, subtract the expansion space, and cut the planks to width. Use a pry bar to snugly fit the last row in place.
3. Finishing Touches
3.1. Install Baseboards and Trim
Once the flooring is installed, remove the spacers and install baseboards and trim to cover the expansion gaps. Nail the trim to the wall, not the floor, to allow for movement.
3.2. Clean the Floor
Vacuum or sweep the floor to remove any dust or debris. Wipe the floor with a damp cloth to remove any residue left from the installation process.
3.3. Apply Finish (if necessary)
If you’re installing unfinished hardwood, sand the floor with a floor sander to smooth any rough spots. Apply a stain if desired, followed by a protective finish such as polyurethane.
4. Maintenance Tips
4.1. Regular Cleaning
Sweep or vacuum the floor regularly to remove dirt and grit that can cause scratches. Use a damp mop with a hardwood floor cleaner to maintain the floor’s finish.
4.2. Prevent Damage
Place felt pads under furniture legs to prevent scratches. Use rugs or mats in high-traffic areas to protect the floor from wear and tear.
4.3. Handle Spills Promptly
Wipe up spills immediately to prevent water damage. Use a dry or slightly damp cloth to clean the spill, avoiding excessive moisture.
Conclusion
Installing hardwood flooring requires patience, precision, and the right tools. By following these steps and taking your time, you can achieve a professional-looking installation that will enhance the beauty and value of your home for years to come. Remember, proper preparation and attention to detail are key to a successful hardwood flooring project.